With this use case we demonstrate how to use our LED message signs to display the amount of free parking spaces for the drivers.
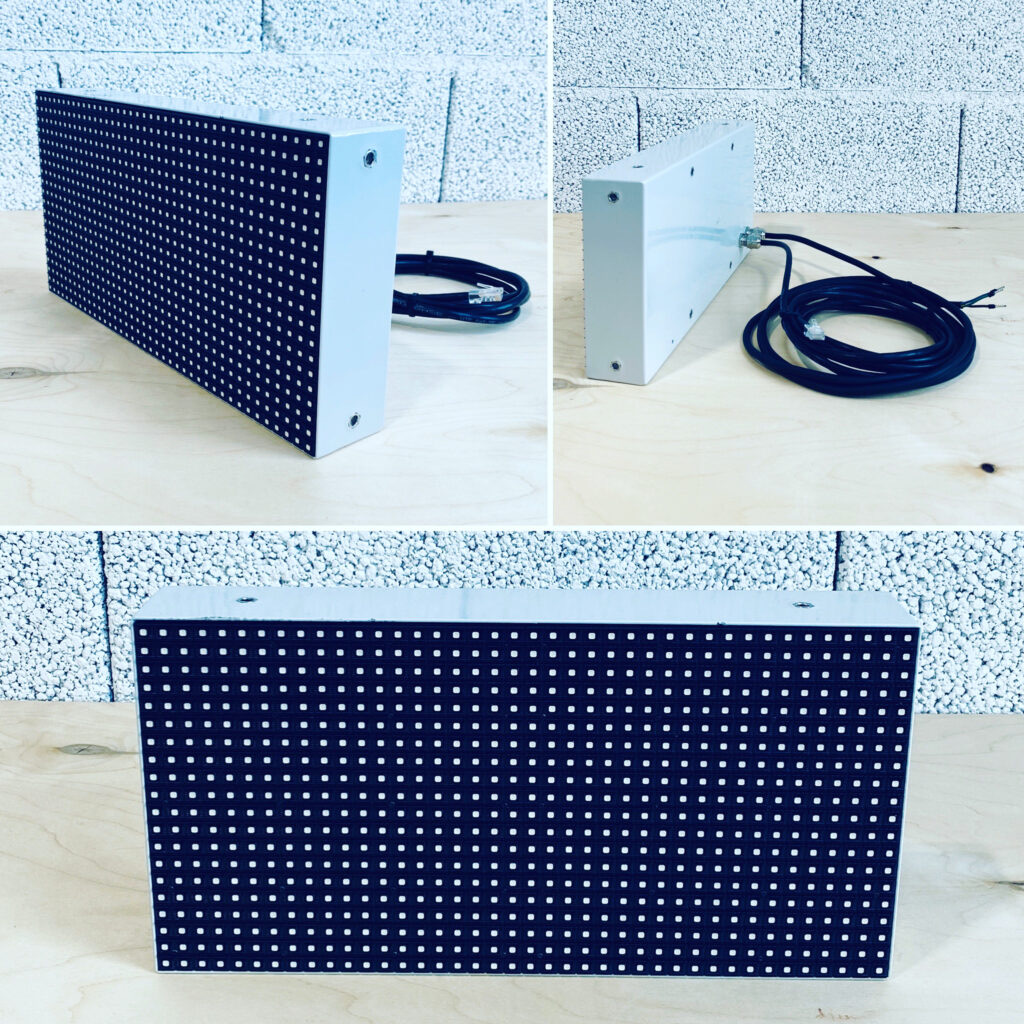
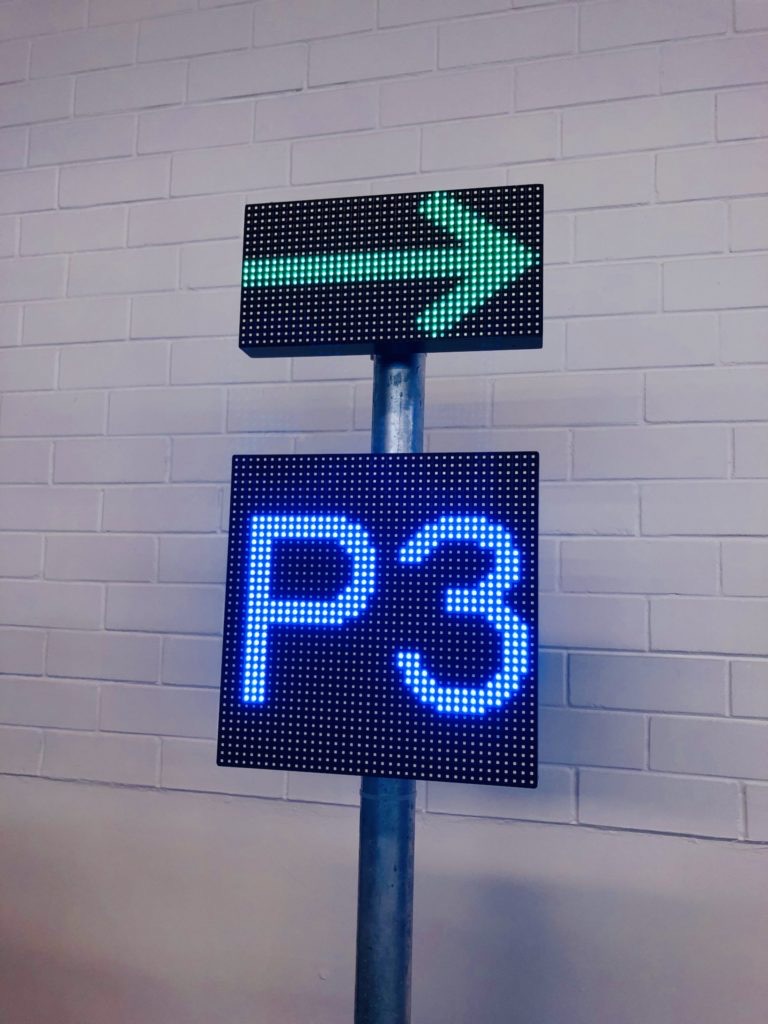
We go through the use case example with our two products. The upper LED sign is our model DS-320×160-P8 and the lower one is model DS-320×320-P8. Both models are full colour and with pixel pitch P8. Suitable for outdoor and indoor use.
Configuration and Setup
To set things up, we need to add layout information to the JSON configuration files. The layout file tells the display controller how to divide the screen into named zones, what content type each zone accepts (text or image), and how to style the output.
We configure the layout file for the upper LED message board model DS-320×160-P8 as follows:
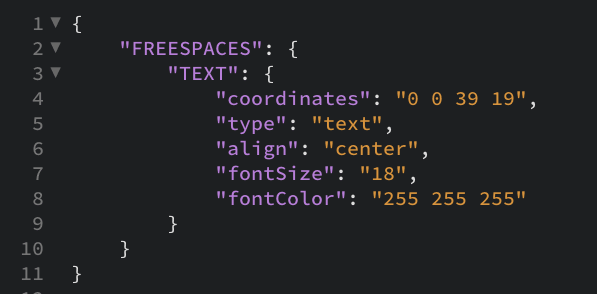
This configuration defines a single zone named FREESPACES that displays text, centred, across the full message board area, with font size 18 and font colour white. For more detail on AmpronLED NextGen content management API configuration, see the API documentation.
For the model DS-320×320-P8 LED message board, we create a two-zone layout — one TEXT zone for the upper part and one PICTURE zone for the lower part:
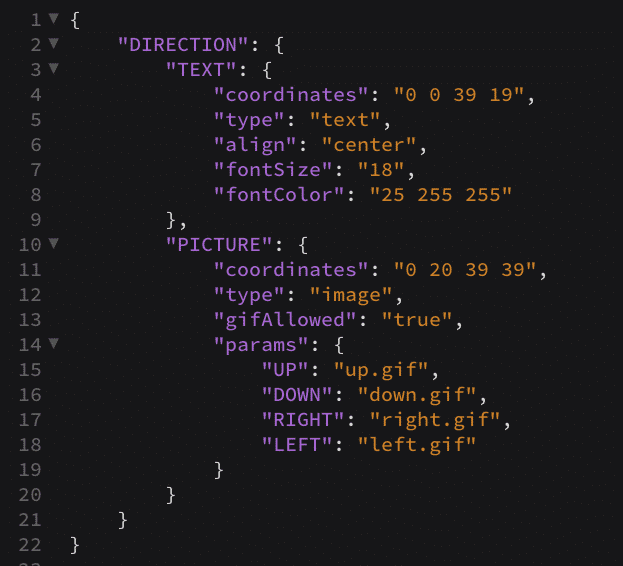
The PICTURE zone supports GIF animations mapped to direction keys. The controller substitutes the correct GIF into the zone based on the PICTURE parameter value sent in the API request. There are many more configuration options and layers available — this example keeps it simple.
Sending Information to the Display
In simplified form, it works the same way as browsing the web. You type a web address and the server sends back information to your screen. Here, you send an HTTP GET request to the Ampron LED display controller, which forwards the content onto the display. For this example, assume the LED display IP address is 192.168.1.1 at port 9527.
Sending information to Model DS-320×160-P8
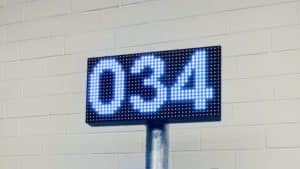
To display the number 034, we send an HTTP GET request:
http://192.168.1.1:9527/mlds?id=PARKING&layout=FREESPACES&TEXT=034Result on the DS-320×160-P8 screen:
Sending information to Model DS-320×320-P8
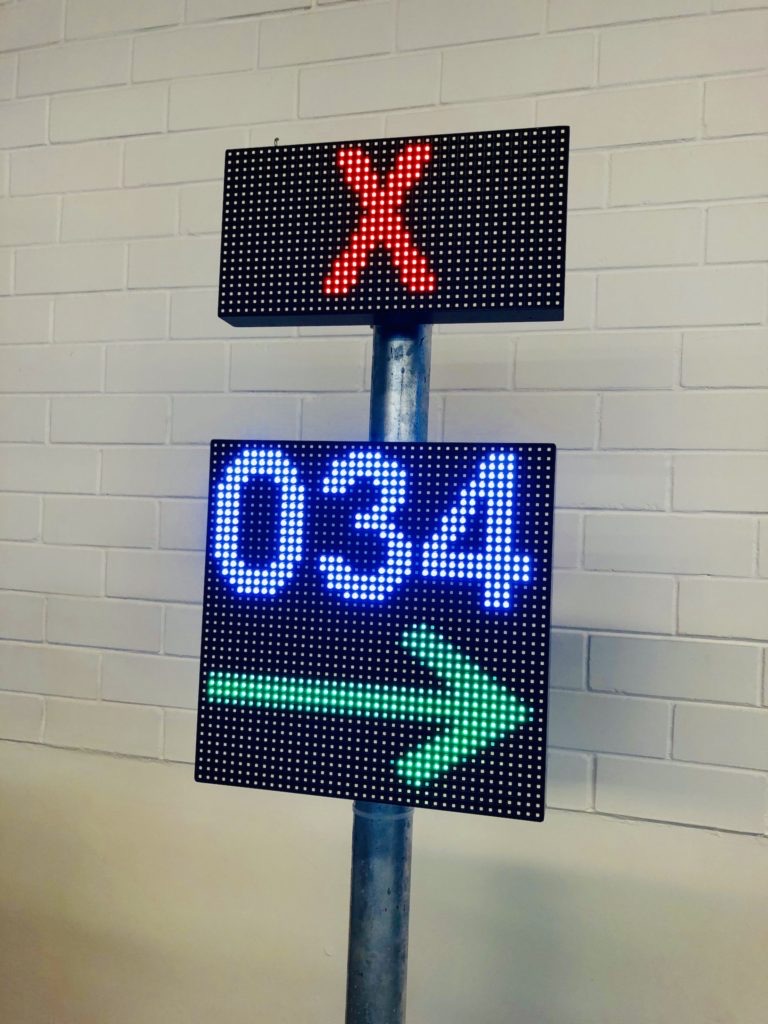
To display the free parking space count together with a directional arrow, we send:
http://192.168.1.1:9527/mlds?id=PARKING&layout=DIRECTION&TEXT=034&PICTURE=RIGHTResult on the DS-320×320-P8 screen:

That was it. You just learned how to configure the displays and send information via the API. To automate this, developers configure their software so that variables change dynamically based on real-time data — the parking management system sends the current free space count to each display on every update cycle, with no manual input.
Here are some more examples showing different layouts and display visuals in the same setup:
For questions about configuration, layouts, or integration with your backend system, contact the Ampron team. Full API documentation is available on this site.